How to add accounts to Anchor
Why Adding Accounts to Anchor is Essential
Adding accounts to Anchor enhances your experience by allowing seamless interaction with the KOY Network. It enables secure transactions, smart contract execution, and easy management of digital assets. Integrating your accounts ensures you fully leverage the blockchain's capabilities, ensuring a smoother, more efficient workflow.
Prerequisites
Before you embark on the steps below, ensure you have already integrated KOY Network as a Blockchain with Anchor, following the initial setup instructions.
Adding Accounts: Step-by-step
Step 1: Navigate to your Blockchains
Begin by accessing the Manage Available Blockchains page. Choose the KOY Network or the KOY Testnet Network option to be directed to the Setup a wallet to use on the KOY Network Blockchain page.
 Fig 1. Available Blockchains
Step 2: Begin the Account Import Process
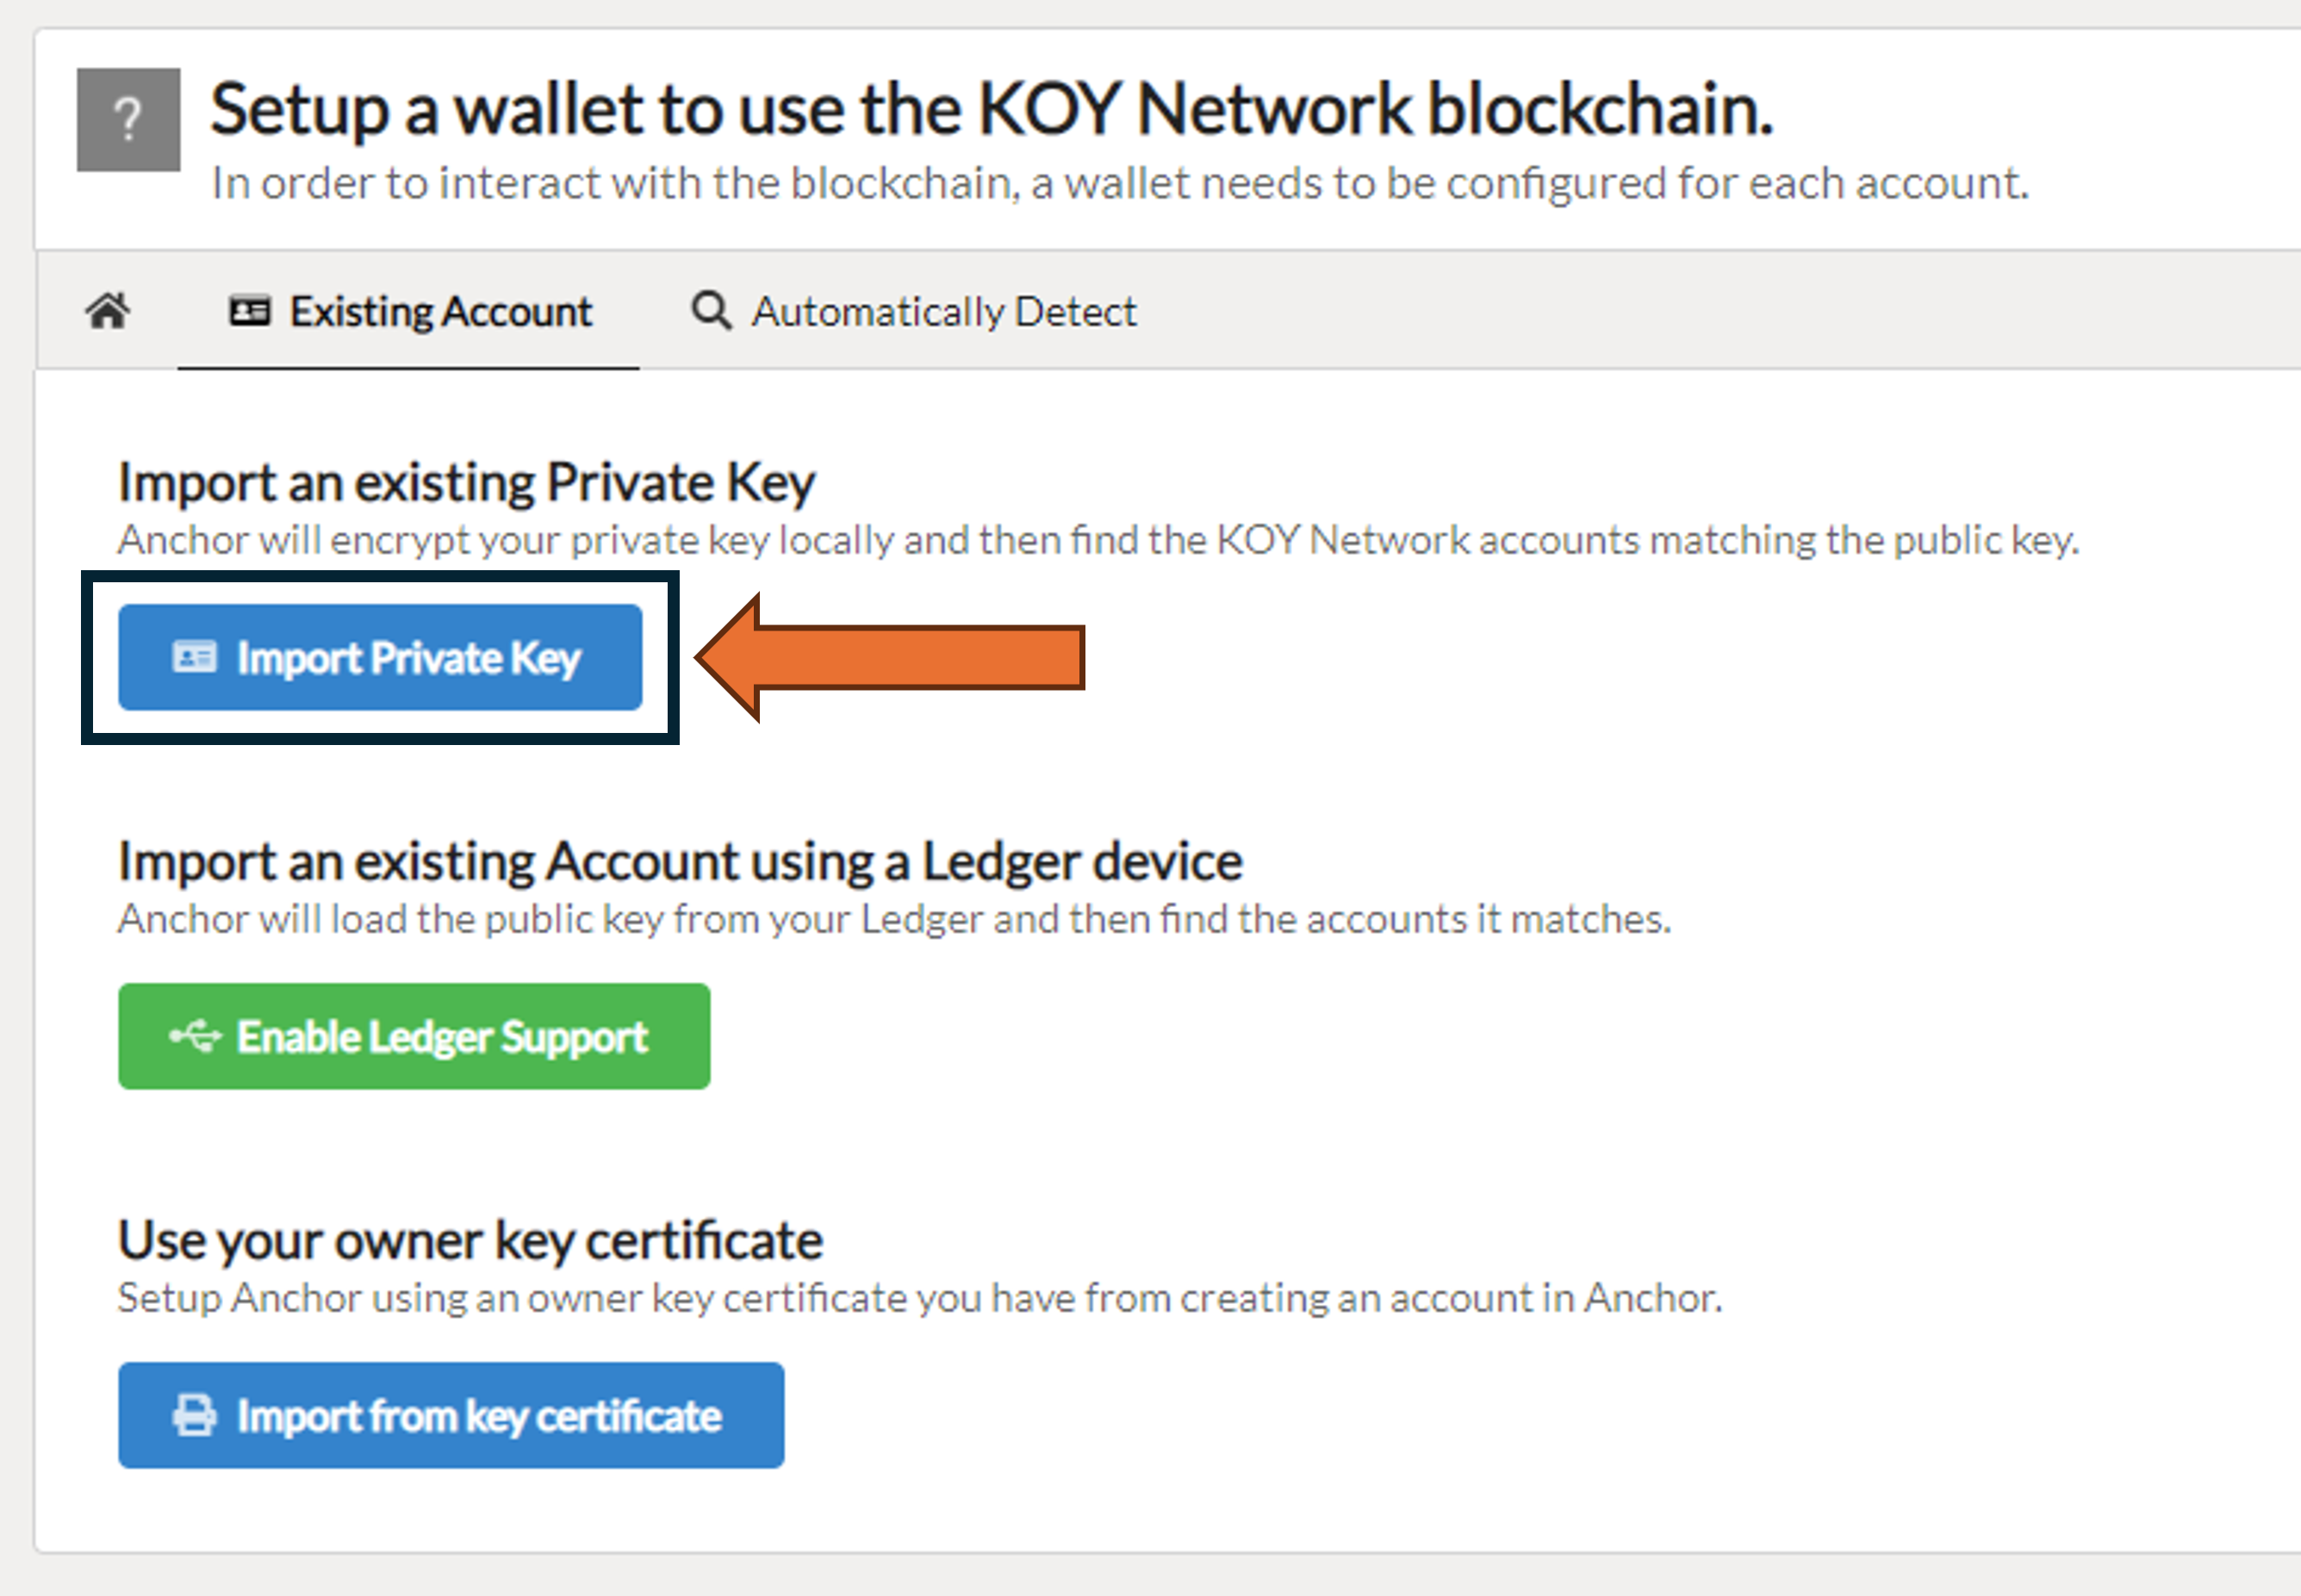
Proceed by clicking on the Import an existing Account button, and then select Import Private Key.
 Fig 2. Anchor Wallet Chain Selector
 Fig 2.1. Link Account selection
Step 3: Import Your Private Key
Upon selecting Import Private Key, you'll be prompted with an input field. Paste your private key here. The account associated with this key will then be displayed. Confirm the account by selecting it and then click on Import Account to move forward.
 Fig 3. Import a Private Key
Step 4: Authorize the Addition of a new account
You will be asked for your Anchor password in a popup dialogue. Enter this password and click on the Authorize button to approve the addition of your account to the blockchain.
 Fig 4. Authorization Dialog
Completion
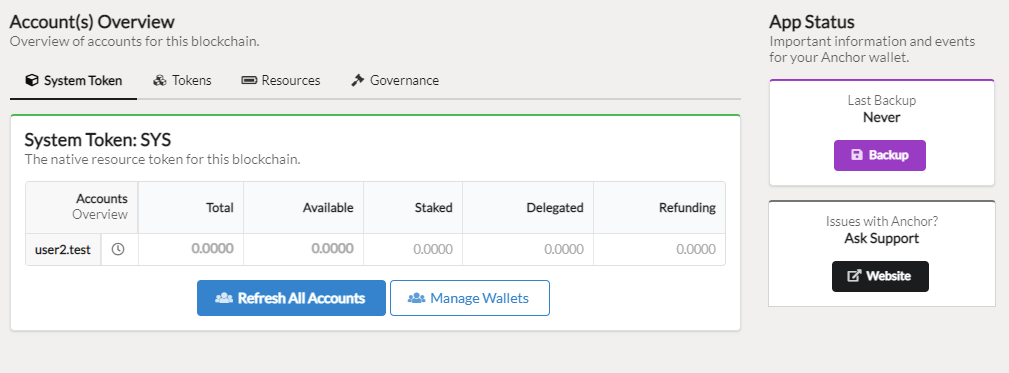
Once you have followed these steps, you will be taken to the "Account(s) Overview" page, where your newly added accounts are displayed. This marks a significant step towards enhancing your blockchain operations within Anchor.
 Fig 5. Account Overview