How to add KOY Network to Anchor
The KOY Network is designed with user-friendly interfaces, simplifying the experience by removing the complexities of key management. For users familiar with the Antelope protocol, the renowned Anchor Wallet by Greymass offers an effortless way to engage with both the KOY mainnet and testnets. Ensure you have the latest version of the Anchor Wallet installed on your desktop or iPhone. Please note, the Android version currently doesn't support adding new chains, but this feature for KOY Networks will be included in an upcoming update.
You can get help in the Official KOY Network Telegram Group.
Download Anchor Wallet .
Add a Blockchain: Step-by-Step
Step 1: Open Anchor
First, open the Anchor Wallet app. At the top left corner of the interface, right next to the Anchor logo, you'll notice the logo of the currently active blockchain. Click on the drop-down arrow beside this name to reveal a drop-down menu with a list of blockchains. From here, you'll want to click on the Manage Blockchains button, which is prominently displayed at the top of the list.
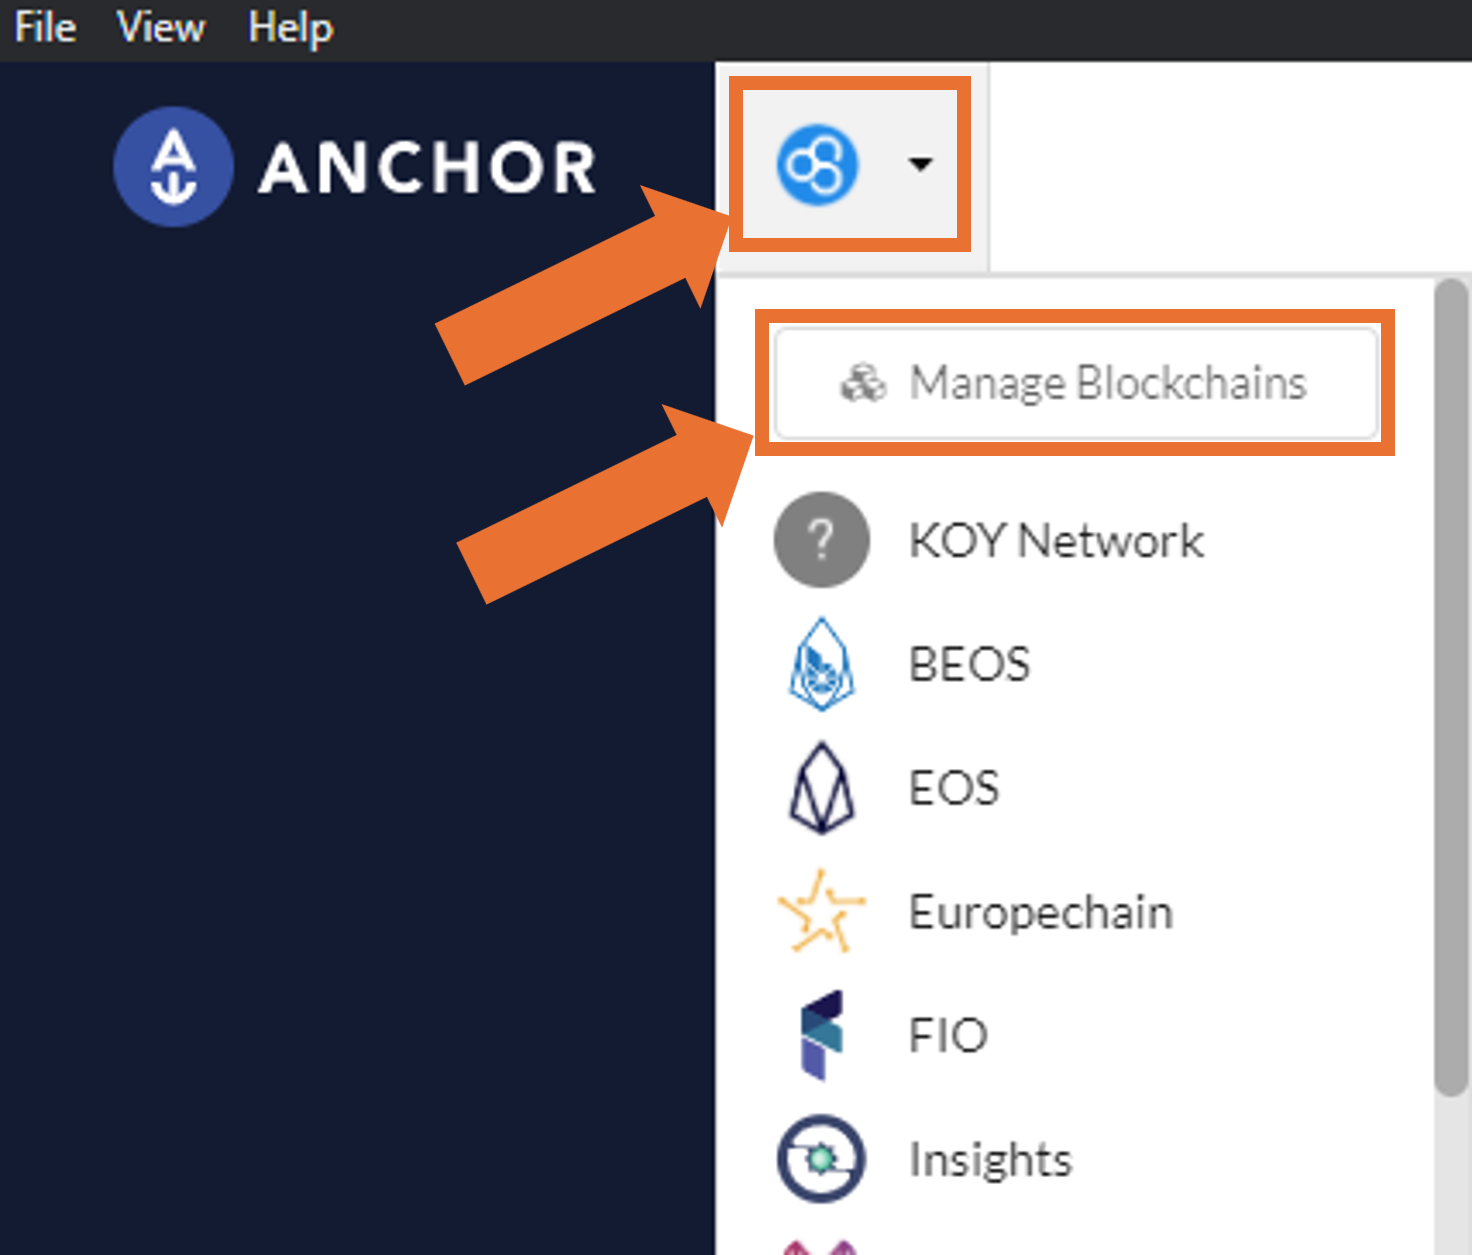 Fig 1. Anchor Wallet Chain Selector
Step 2: Manage Available Blockchains
After clicking Manage Blockchains, you'll be taken to the Manage Available Blockchains screen. Scroll down to the bottom of this page until you find the Add/Remove tile; click on it to proceed.
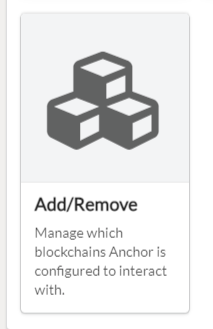 Fig 2. Add/Remove Chain
Step 3: Add Custom Blockchain
You will now see a list showcasing all the blockchains that Anchor Wallet currently recognizes. However, since the KOY Network might not be listed, you'll need to select the Custom Blockchain button located at the upper right corner of the screen.
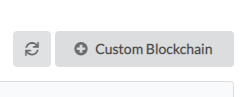 Fig 3. Custom Blockchain button
Step 4: Configure KOY Network
At this stage, you're ready to input the details for either the KOY Mainnet or the Testnet, depending on your needs:
For the KOY Mainnet, you will need to provide:
- Chain ID:
adf3860dc671acafa2e4ce7ab4fd90920a487e8e82a36e8b4364aad5129552cd - Name of Blockchain:
KOY 2.0 Mainnet - Default node: https://api.mainnet.koynetwork.io
For the KOY Testnet, you will need to provide:
- Chain ID:
181e289803751d4e0fc257fd186edaa6df8169e28631f1bf63fc9287a80cfb5f - Name of Blockchain:
KOY 2.0 Testnet - Default node: https://api.testnet.koynetwork.io
Advanced Configuration (Optional): While not required, should you wish to customize further, here are the recommended details:
- Public Key Prefix:
EOS - Default Token Symbol:
KOYN - Features and Contracts Available: Leave blank
Make sure This blockchain is a test network remains unchecked for the mainnet.
Click Save once you've filled in the necessary fields.
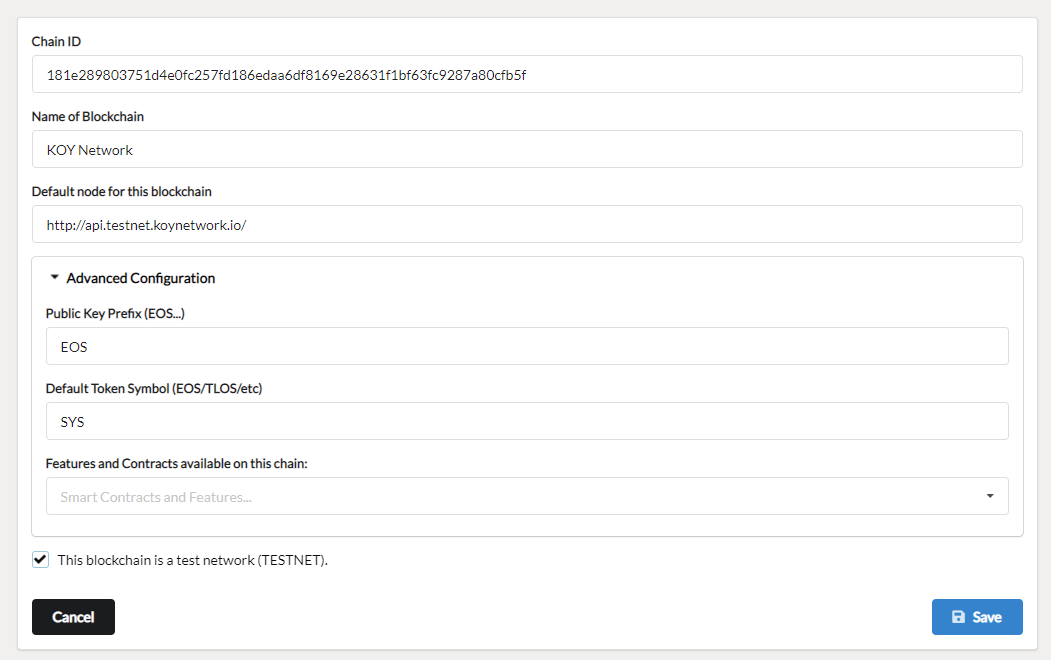 Fig 4. New Blockchain Properties page
Step 5: Enable KOY Blockchains
Once saved, you'll return to the list of networks known to Anchor. Locate the KOY network or networks you've just added and ensure their corresponding checkboxes are selected. Then, click the Enable # blockchains button located at the top left corner.
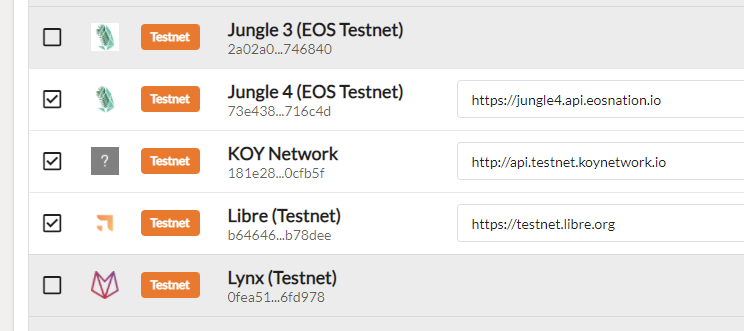 Fig 5. Enable/Disable Blockchains
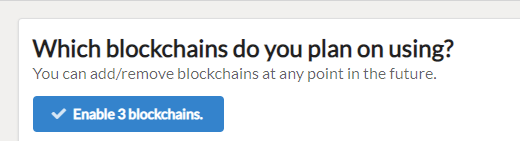 Fig 6. Enable button
Step 6: Manage KOY Networks
Finally, back on the Manage Available Blockchains screen, choose the KOY network you wish to use. Optionally, click the pin icon next to KOY to make it readily available in the blockchain dropdown menu for future access. Just like with any other network on Anchor Wallet, you can now import accounts into the KOY networks you've enabled.
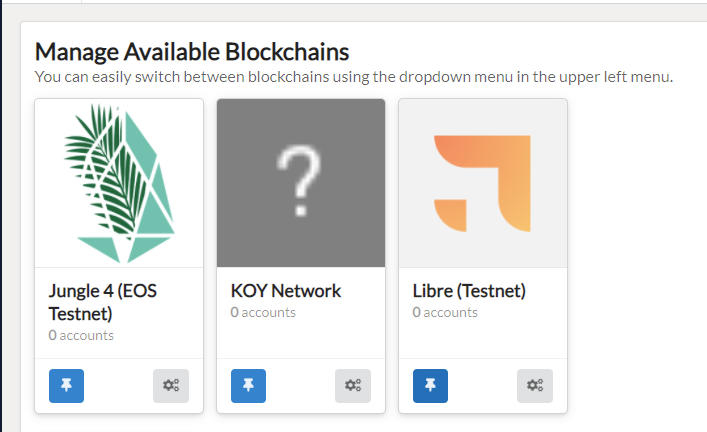 Fig 7. Manage Available Blockchains screen